This post is sponsored by CVS/pharmacy Photo Center. All opinions are my own.
I have often noticed and walked right by the Kodak Kiosks at my CVS/pharmacy store. I thought that these Kiosks were mostly for prints or for enlargements. Plus, I thought I would “feel” weird using these in public. I’m weird like that sometimes! I didn’t realize how easy and convenient it was to create memories on the Kodak Kiosk at my local CVS/pharmacy.
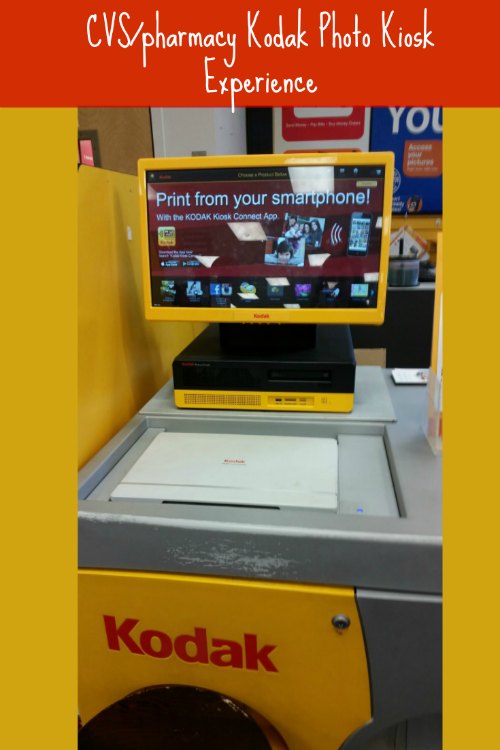
Let’s go through the process step by step. The first thing you will look for is these yellow-ish orange kiosks at your store. At my store they at the photo centers by the front registers. My store also had stools for sitting so you can get comfortable while you are creating your masterpieces!
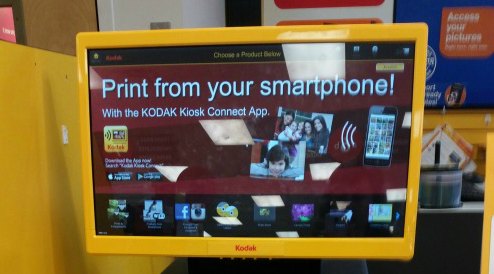
First, you will explore what you want to create. Choose from a multitude of items including reprints, photo books, cards, calendars, mouse pad, posters, and much more.
As you can see, there are many ways for you to access your photos with the kiosk. I picked the photos I wanted to use before I left home and placed them on a USB drive so I could quickly make my products. However, there are many other ways to access your photos. You can also connect to Facebook, Instagram, email, cell phone (through the USB), CD-Rom, DropBox, GoogleDrive, Picasa, or Flickr! These makes it convenient as you don’t have to wait to upload photos or use your own bandwidth at home to get your photos online to create your personalized gifts and photo books.
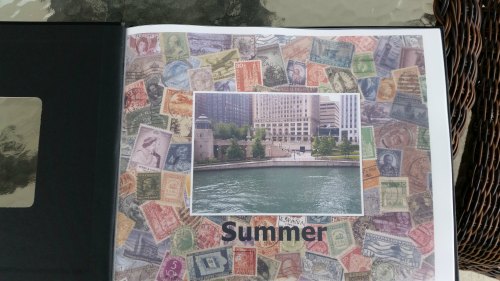
The first thing I decided to create was a photo book. Since I don’t print out photos often and put them in albums, my kids love it when I create photo books. I try to do these at least once a year but I have fallen behind schedule within the last year. Once I inserted the USB into the kiosk, it asked if I wanted to use all the photos or select only certain photos. I used all the photos and had it create the photo book automatically.
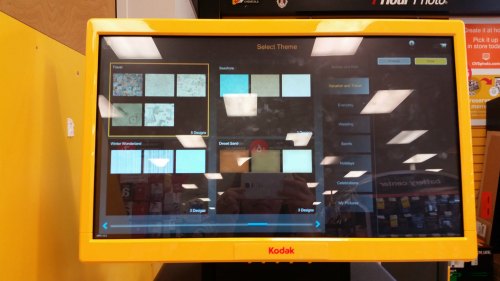
You can choose from a variety of themes. Since I was creating a summer photo book, I went directly to the vacation section and picked one of those that I liked.
There are so many customization that you can do on your photo books. You can change the layout, add text, change the font, move the text around the pages, etc. I love how easy it was to do too! I had some fun with it and created personalized text and used fun fonts on several of my pages in the photo book.

The next item I created was a mouse pad using my kids back to school photo. I always take a photo of the kids on the first day of school, which is usually the only time I can get them all together as a group to get a decent photo. The mouse pad was ridiculously easy to create. Picked my photo and that’s all I need to do. Super simple.
Obviously CVS/pharmacy knows that after creating their personalized products, people often forget their USB or to disconnect from their social networks. It doesn’t allow you to check out until you have removed your device!
Best of all, my photo book was ready on the same day I created it. I was able to easily create a photo book of family memories and pick it up at my local CVS/pharmacy the exact same day. It is a hard cover bound photo book that has premium photo quality. I’m still not over the fact that I could pick it up the same day.
Many of the items but not all of the items can be picked up the same day you order them. Free same day pick up items include photo books, cards, reprints, calendars. Unfortunately, the mouse pad was not a same day pick up item but they will call me when it is ready. I can’t wait to share it with you in my next post.
Check out your weekly circular for ways to save on your favorite photo products as CVS/pharmacy often offers deals on these items.
This post was sponsored by CVS/pharmacy Photo Center. Rest assured, this Post was written by me and was not edited by the sponsor. Read more on my Disclosure Policy.


