
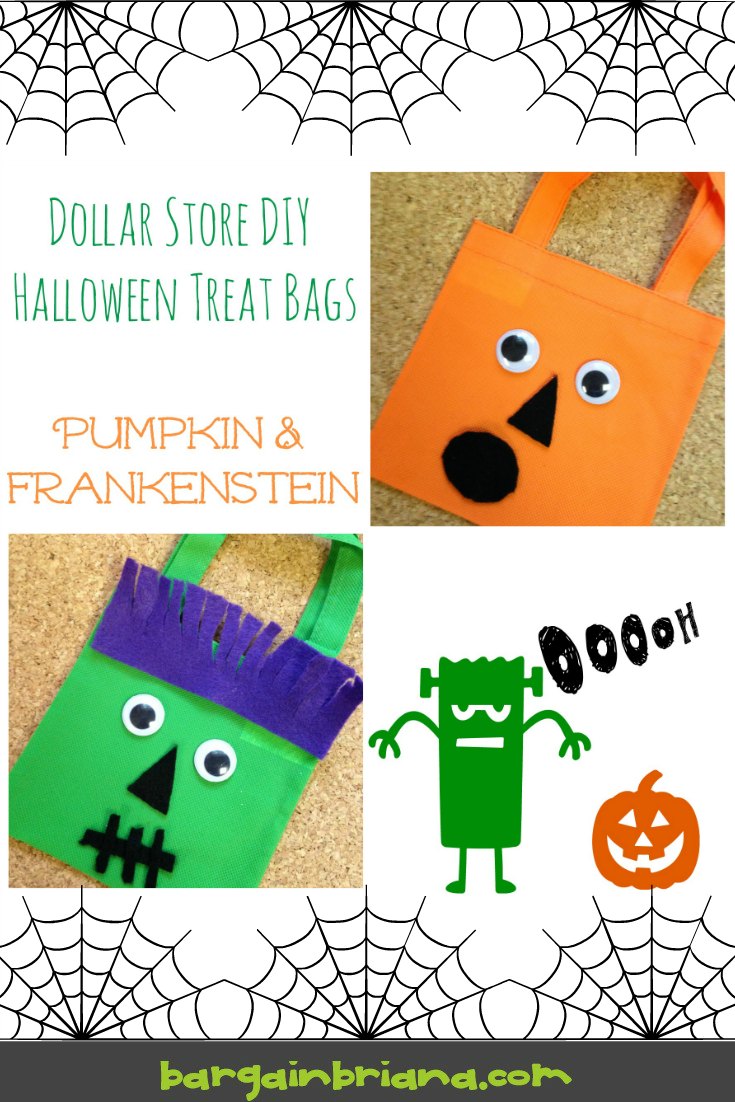
If you need treat bags this season for your Halloween gatherings, look no further than these easy, DIY Halloween treat bags. These treat bags can be made using a handful of dollar store products and a few basic craft supplies, and the end result is the perfect bag for holding your sweets and treats! Take a peek at how you can get started on your own.
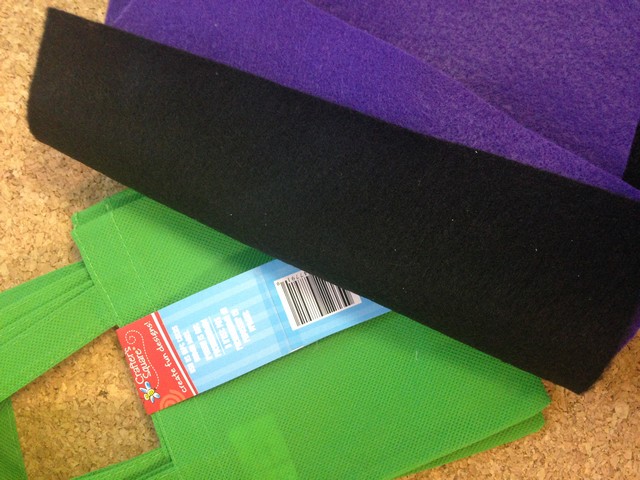
Here is what you will need:
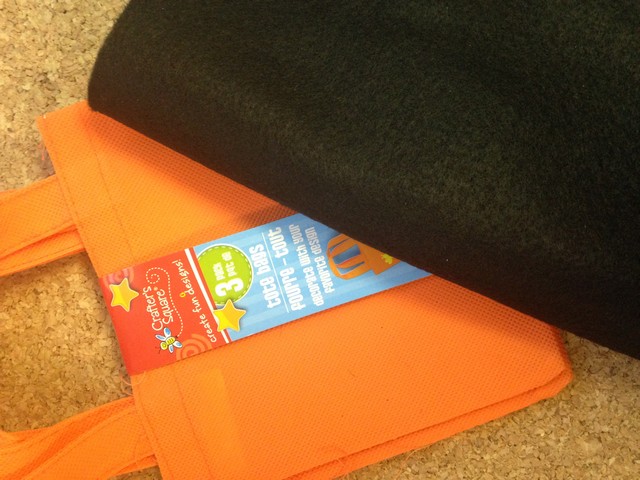
- Small colored canvas bags (Sold in packs of 3/$1 at Dollar Tree)
- Assorted felt sheets
- Googly eyes
- Scissors
- Craft glue
All of the above items except for the felt can be found at your local Dollar Tree. You can find felt sheets for as little as .25 each at your local craft store.
Directions:
First, let’s do the Frankenstein bag!
1. Begin by applying a pair of googly eyes to the front of the bag. Secure them in place with craft glue.
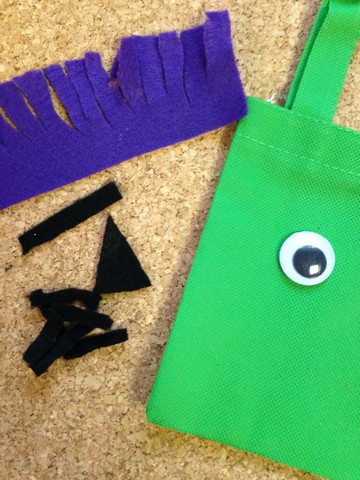
2. Cut out some shapes from the black felt. For the Frankenstein, a triangle and some strips are perfect.
3. Attach the nose with glue. A triangle makes a perfect nose.
4. You can now create the mouth. Glue on one strip and apply some smaller strips over it for a stitch effect.
5. Finish Frankenstein by attaching a fringed piece of purple felt to the top of the bag. It makes for some great hair.

Your Frankenstein is now complete. Fill your bag with treats of your choice and enjoy!
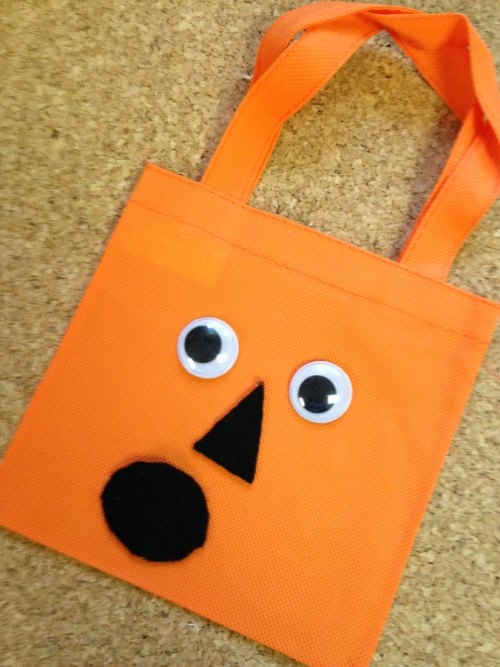
Now, let’s craft the pumpkin bag.
1. Begin by applying a pair of googly eyes to the front of the bag. Press them in place with craft glue.
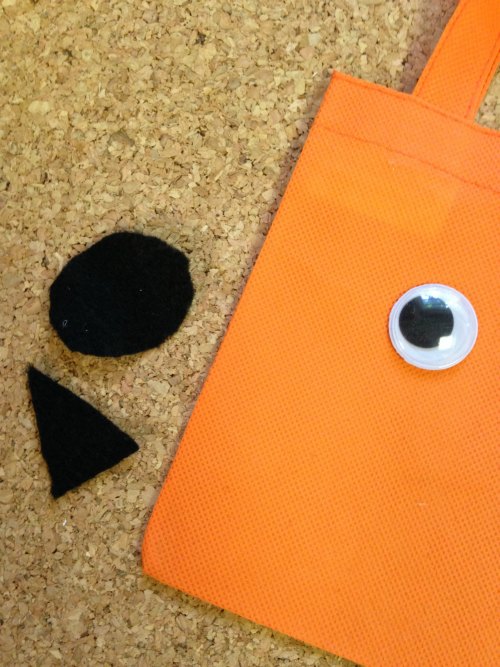
2. You can now cut out some shapes from the black felt. Circles and triangles are perfect.
3. Assemble the face of your pumpkin, securing the felt with dabs of craft glue. Hold them in place until secure.
Your pumpkin face treat bag is now complete. It makes the perfect party favor.
These Halloween Treat Bags are so simple to make. You can easily whip up a batch for just a few dollars and in no time have the perfect party favors. Give these a try!
Did you enjoy this post? Find more money saving tips here.
I have read your article. It is very informative.