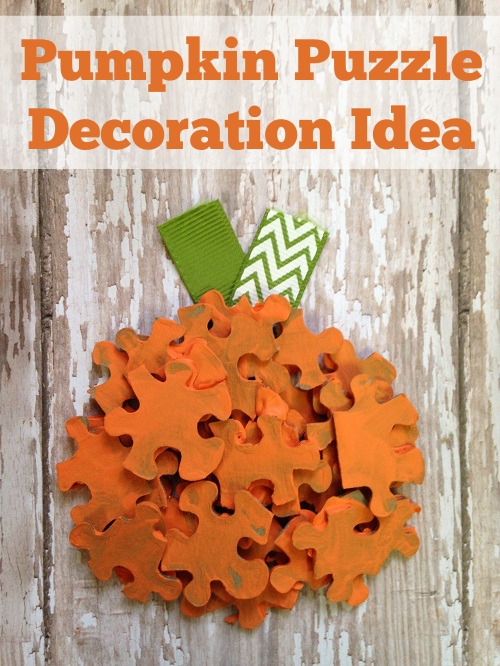
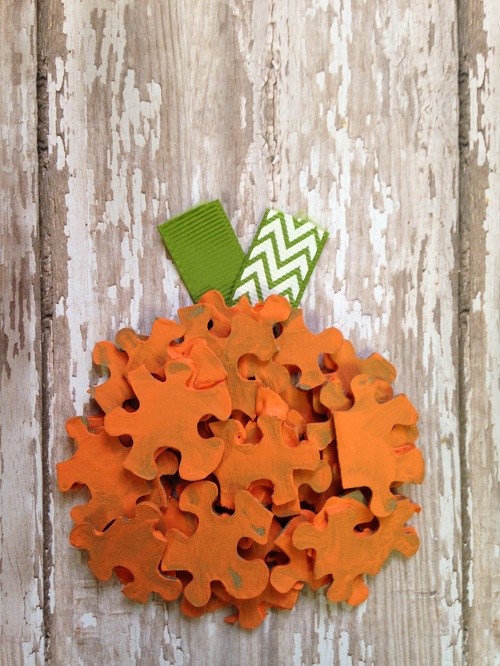
What can you do with a handful of puzzle pieces? You can turn them into a pumpkin of course! Take a look at how we took some puzzle pieces and craft paint and made one of the most whimsical pumpkins around. It is such an easy craft to do, and one that can be done on a dime. Take a look at how you can get started crafting your own.
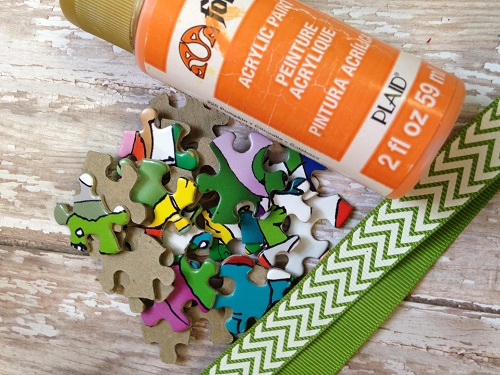
Supplies needed:
- Puzzle pieces
- Orange craft paint
- Green ribbon
- Scissors
- Brush
- Craft glue
You can find puzzles at your local thrift and dollar stores. Or, just use some incomplete puzzles you have at home.
Directions:
Begin by laying the puzzle pieces out on some newspaper. It is easiest to paint them if they are design side down.
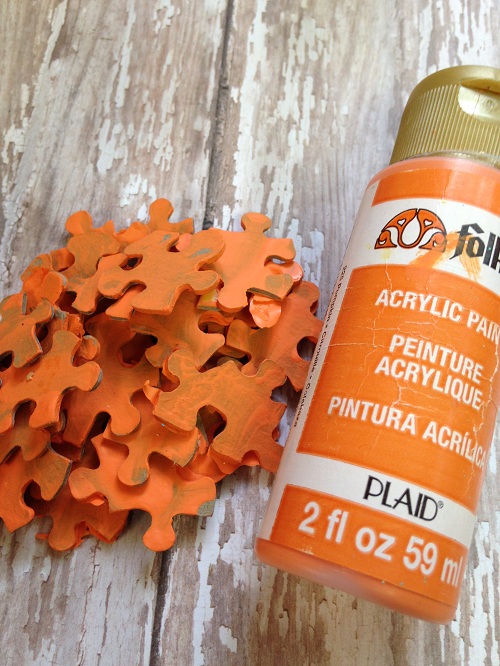
Apply two coats of paint to the puzzle pieces. Allow the coats to dry in between applications.
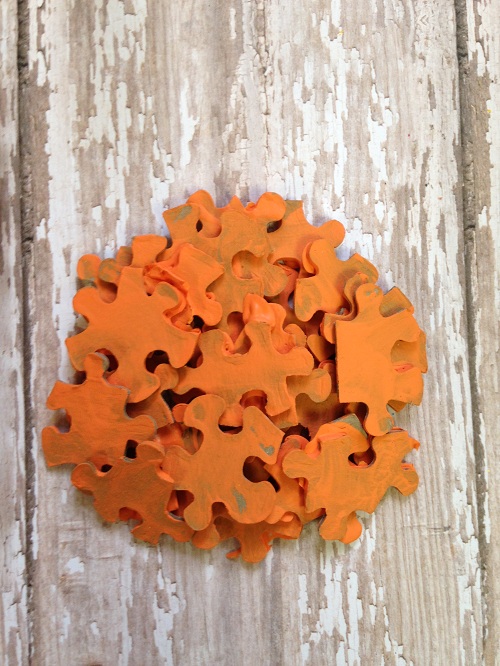
Once the puzzle pieces are dry, you can start arranging them into the pumpkin shape. Apply some glue to paper in a circular formation and start layering the puzzle pieces on.
Continue gluing the puzzle pieces in place until the pumpkin has taken shape.
Finish the pumpkin by snipping a length of ribbon and adding it to the top of the pumpkin.
Your puzzle piece pumpkin is now complete. This is a fantastic craft to enjoy with children or even to do at your fall themed parties.
Gather your supplies and give this puzzle piece pumpkin craft a try!
Did you enjoy this post? Find more money saving tips here.

This is so cute! It gave me the inspiration to elaborate on them and make a matching pumpkin one and a wreath out of it.
http://www.raisingfairiesandknights.com/mabon-wreath/
I made two of the puzzle pumpkins over the weekend. Framed one on black felt and tied a bow of raffia around the stem, and glued the other one to a burlap covered board. I’ve got the black one hanging in the hallway! Can enjoy it every day from my computer!
I made two of the puzzle pumpkins over the weekend. Framed one on black felt and tied a bow of raffia around the stem, and glued the other one to a burlap covered board. I’ve got the black one hanging in the hallway! Can enjoy it every day from my computer!
What an adorable idea, and also a great way to recycle something you have lost pcs. to, or just tired of and aren’t using.
Blessings, Nellie
This is so cute! I love the idea of using puzzle pieces! Thanks for sharing on the Monday Funday Party!
Such a unique and adorable idea for a Fall Pumpkin craft! Pinned
Hey, Briana! Just wanted to let you know that we loved your Kids Reading Nook so much when you shared it at the #HomeMattersParty last week, we’ve FEATURED it THIS WEEK! Hope you can check it out when you get a sec! Happy Friday!!! http://lifewithlorelai.com/2015/08/27/home-matters-linky-party-52/
I have some old puzzles laying around. I am going to try to make one of these. I am so happy that you shared this link on #HomeMattersParty and I hope you will come back and share again.
Cute, cute!! :o]
Tania
What a cute and fun idea! I know this would be such a blast for the kids. Thanks for sharing! Visiting you from Sunday Showcase! Have a wonderful day!
Alexis @ http://www.chemistrycachet.com
Great fall decoration idea!
So unique! And delightfully easy!!
Here from Inspire Me Monday.
I love this. Does it simply lie flat? Can a hanger of some type be attached. Would like to do this w/my kindergarten class but not sure of the final outcome. Thanks for any feedback!
Lisa,
I was reading through the comments, too, for the very same reason – wondering what they did with it after it was finished. I think I’m going to glue mine to a mat (or even the glass) of an old picture frame. Maybe I’ll put some scrapbook paper behind the glass in a fall color and then glue the pumpkin to the paper and hang the frame or let the whole thing set on an easel. I think I could also put the glass back in the frame over the pretty paper and then glue the puzzle pumpkin to the front on top of the glass.