
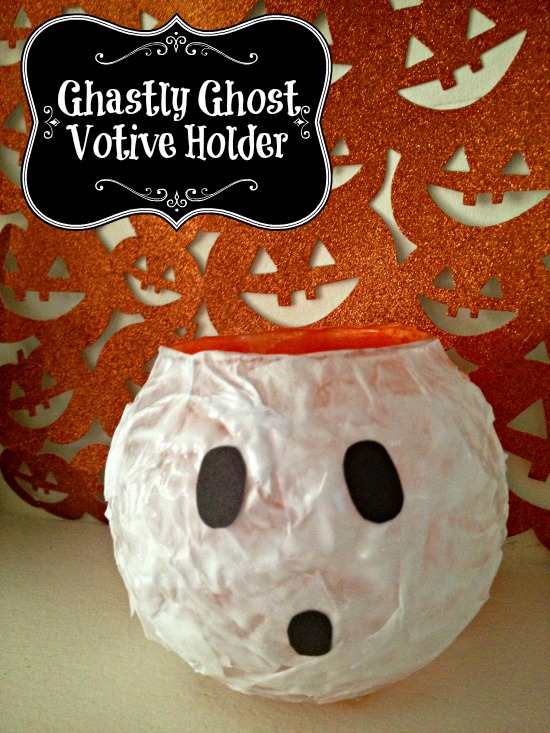
Some of the best crafts you can make are the ones that use minimal supplies. You don’t always need a whole cart full of supplies from the crafting store to make cool projects, you just need a little creativity. If you have a Dollar Tree store nearby, then you are well on your way to creating some fun and spooky Halloween crafts. To get started, take a look at how you can make this Ghastly Ghost Votive Holder. It adds the perfect amount of Halloween charm and a soft glow to your house, and it does it for just pennies. Take a peek at how to make your very own!
Ghastly Ghost Votive Holder
Supplies Needed:
- Small, round votive holder
- 1 battery operated votive
- White tissue paper
- Craft glue
- Black construction paper
- Scissors
As mentioned, we found all of the above items at our local Dollar Tree. Be sure you check yours out before spending more elsewhere!
Directions:
- Begin by ripping your white tissue paper into small shreds. You can rip it into squares or just rip up various sized shreds. You will only need a handful or so of shreds as a little go a long way with this craft.
- Next, pour some craft glue on the glass votive holder. Use your finger and simply smear the glue evenly all over the glass. This feels very messy but no worries, it will dry clear when you are done.
- Taking your shreds of white paper, start placing the shreds piece by piece over the glue. Press gently and watch the paper just sort of melt into the glue.
- Continue layering on white tissue shreds until all of the glue and glass is covered. In areas that glue seems to be gathering, just add additional pieces of tissue paper.
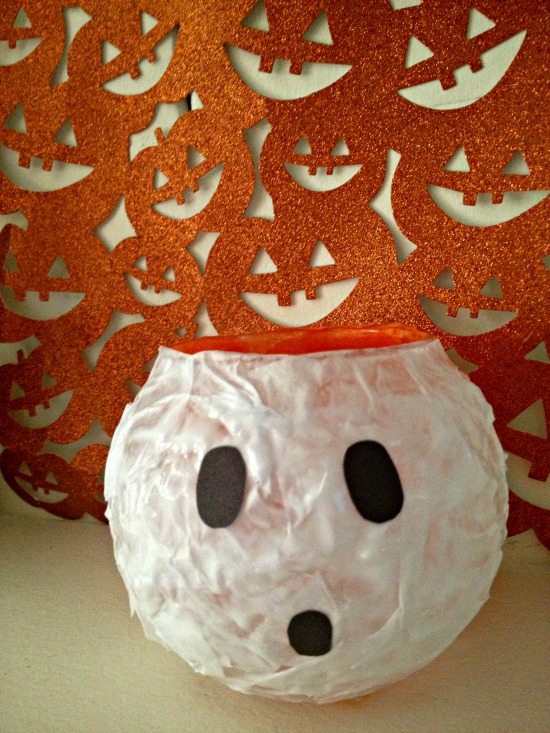
- Set the piece aside to dry. You will notice it is now taking the shape of a ghost.
- Cut out eyes and a mouth from your black construction paper. If your glue is still damp just press it to create the face of the ghost. If it is dry just add another dab of glue.
- Once the entire piece is dry, simply slip a battery operated votive candle on the inside. Don’t use a real votive as it can pose a fire hazard with the tissue paper.
Now all you need to do is find a place to display this little guy! Your ghastly ghost votive holder is actually more charming than ghastly, but either way it is sure to spook up your space. Give this Dollar Store DIY project a try and see how truly easy it is.
View our past DIY Halloween Craft posts.
Did you enjoy this post? Find more money saving tips here.
Boohoo :)
YOU are welcome to join my BlogParty
SATURDAY SHOW OFF
Hugs from Håkan in Sweden
This is adorable! I love the sweet face.
Thank you for sharing this week at Brag About It link party on VMG206 (Mondays at Midnight).
~ Megin of VMG206
I’m dropping by from The Happy Scraps link party. This is such a fabulous idea. So easy and inexpensive — and one that kids could easily do. (I’m always on the lookout for those types of crafts and activities.)
I have a link party that I am trying to grow. I invite you to share this idea — and a couple of others — at my Grandma Ideas Sharing Time link party at http://grandmaideas.com. I think my readers would love this idea as much as I do.
The party goes from Wednesday through Friday night at midnight Mountain Daylight Time in the U.S. I hope to see you there. (If you don’t make it this week, I hope you can next week.)
All the best,
Nina
I love upgrading a simple Dollar Store item into something great and I have to try this one.