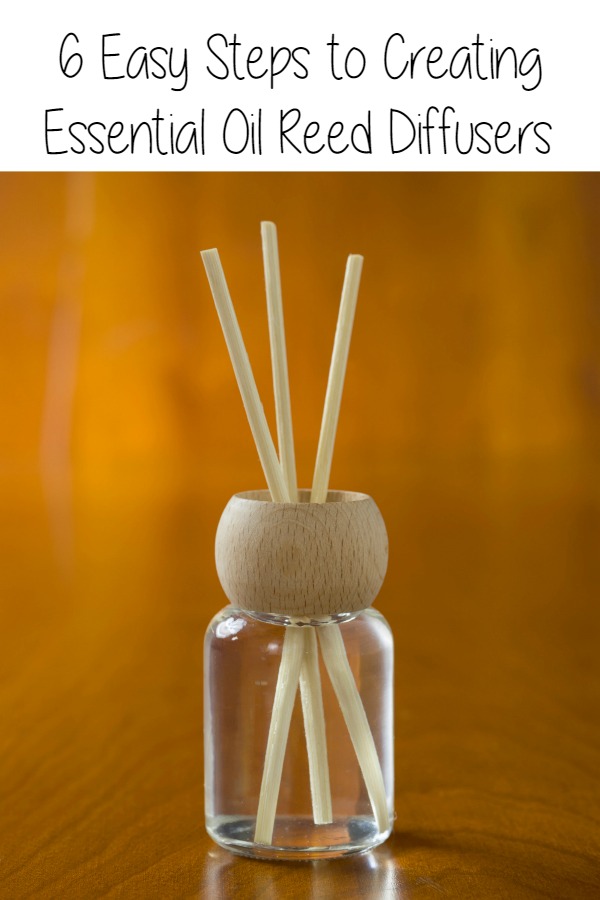
There are many ways to add little personal touches to a home. While rugs and wall hangings can pull everything together, sometimes it’s the smallest thing that gives a home its personality: the fragrance of a home. Essential oil reed diffusers not only add a beautiful decoration piece to your home, but they also fill your home with the calming scent of your choice. By following these simple steps, you’ll have a wonderful essential oil reed diffuser ready for every room of your home.
-
Select a Base
There are two favorite liquids for bases: oil or water. While both work well, water is easier to work with, and some believe that it absorbs into the reeds easier. However, if you use water, you’ll have to use something to bind it to the essential oil (see step #2). You won’t need this binding agent if you are only mixing an oil base with an essential oil.
-
Select a Binder
If you’re using water as your base, you’ll need to decide on a binder. There are two options for binders, rubbing alcohol or vodka. While this may seem a bit strange, the smell fades rapidly, leaving the essential oil to permeate the room.
-
Select an Essential Oil
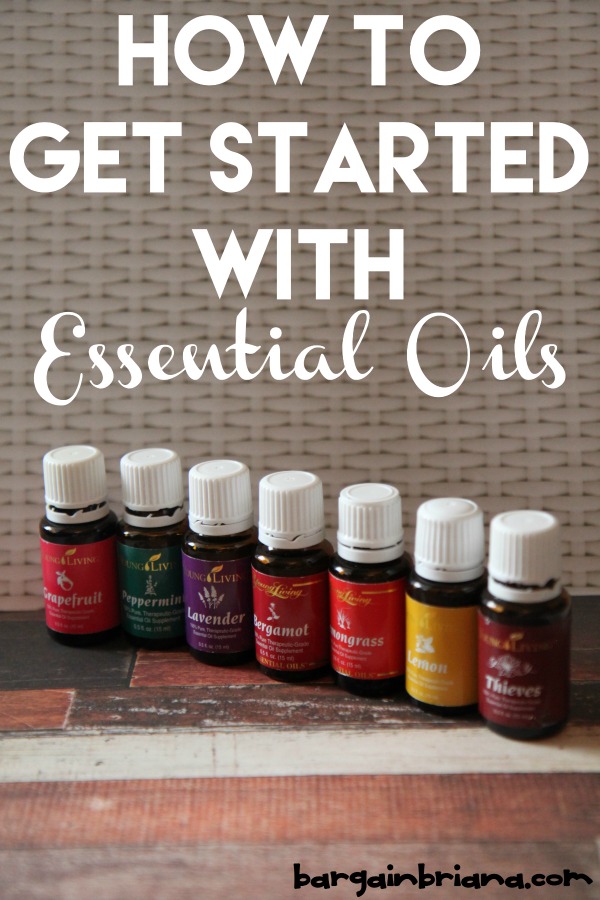
This is the fun part! You get to pick from the huge assortment of essential oils on the market. If you already have a selection, just whip them out and get started. However, if you need to order some, here are a few popular selections you can’t go wrong with:
- Rose to inspire creativity
- Juniper to instill peace
- Frankincense to promote positivity
- Lavender for its calming properties
- Basil to help fight fatigue
- Orange to put you in a happy mood
- Sandalwood if you enjoy meditation
- Bergamot to help ward off nightmares
- Jasmine to help inspire passion
- Chamomile to help you relax
-
Choose the Reed Sticks
Seeing how you are making reed diffusers, the obvious stick choice would be reed diffuser sticks. However, you can also substitute with bamboo skewers. These can be found at most local grocery stores or even some dollar stores. However, you should be aware that the reed diffusers do, in fact, seem to absorb more of the oil, thus giving off a stronger smell. Experiment with the two choices to see which works best for you.
-
Select Your Container
Once you’ve mixed your water, alcohol, and essential oil together, you need to place them in a container that is rather short and has a small opening, wide enough for several skewers. You can be as creative as you want with your containers, another way to personalize this decoration.
-
Trim and Soak the Reeds
This is the last step! All you have to do before you can set out your brand new oil reed diffuser is trim the reeds down to stand several inches above the top of the container. You can extend the reeds up to double the length of the container. Soak one end of the reeds for an hour or two and then flip the reeds to soak the other side.
Now you have your beautiful, customized essential oil reed diffuser.
Are you ready to purchase some of these awesome oils! You can purchase high quality Young Living Essential Oils (my favorite brand!) over here or you can read about how to get a wholesale discount and the potential to earn FREE essential oils. Read all my past posts on how I use Essential Oils.


