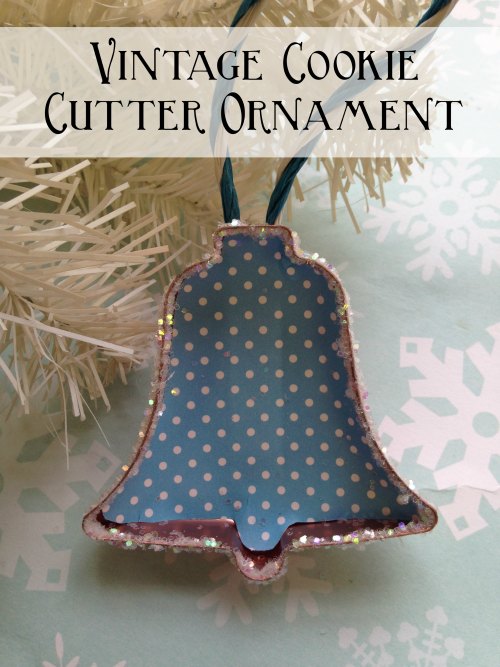
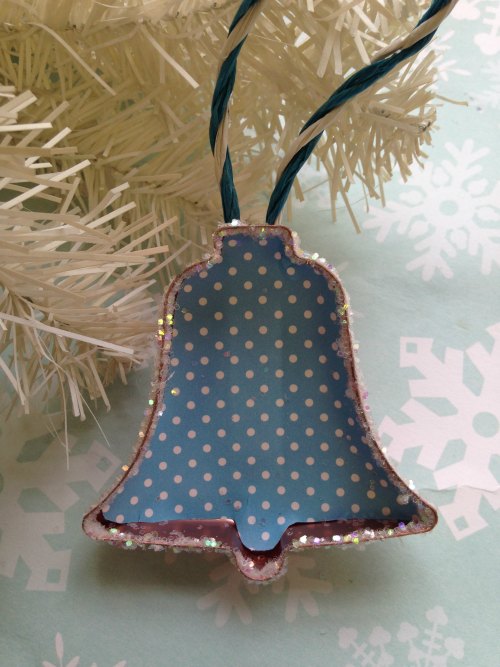
Do you love the look of vintage cookie cutters? If so, why not incorporate them into your holiday décor? You can craft a vintage cookie cutter ornament like the one you see here, using an old cookie cutter and some other inexpensive craft supplies. When done, your vintage cookie cutter ornament is perfect for displaying or gift giving. Here is how you can get started crafting your own.
Supplies needed:
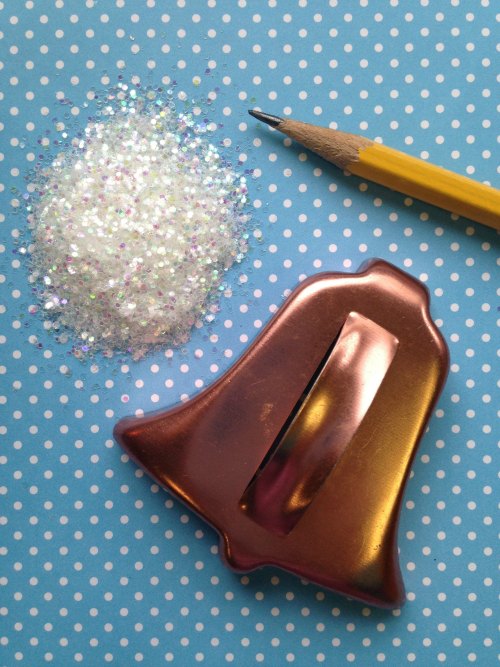
- Vintage metal cookie cutter (check thrift or antique stores, opt for a cookie cutter with a solid backing as the one you see here)
- Scrapbook paper
- Glitter
- Craft glue
- Scissors
- Pencil
- Ribbon or twine
Directions:
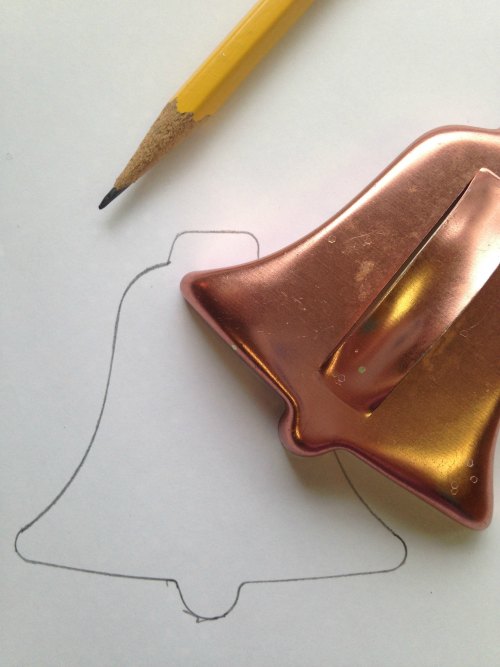
1. Begin by turning your craft/scrapbook paper over so the white side is exposed. Place your cookie cutter on the paper and trace it with the pencil.

2. Remove the cookie cutter and cut out the pencil shape with your scissors.
3. Add a few dabs of glue to the inside of the cookie cutter. Smear the glue into a thin layer with your finger.
4. Place the paper cut out inside of the ornament. Press and smooth it out until it is wrinkle free and secure.
5. Add a thin layer of glue around the edges of the cookie cutter. Pour some glitter onto a place and press the glue covered edges into the glitter. Shake off any excess.

6. Finally, add some ribbon for hanging. You can attach it to the back of the cookie cutter with glue or tie it onto the handle.
Your vintage cookie cutter ornament is now ready to be displayed on your tree or gifted to a friend. Gather your supplies and try making one yourself!
Print
Vintage Cookie Cutter Ornament
Ingredients
- Vintage metal cookie cutter (check thrift or antique stores, opt for a cookie cutter with a solid backing as the one you see here)
- Scrapbook paper
- Glitter
- Craft glue
- Scissors
- Pencil
- Ribbon or twine
Instructions
- Begin by turning your craft/scrapbook paper over so the white side is exposed. Place your cookie cutter on the paper and trace it with the pencil.
- Remove the cookie cutter and cut out the pencil shape with your scissors.
- Add a few dabs of glue to the inside of the cookie cutter. Smear the glue into a thin layer with your finger.
- Place the paper cut out inside of the ornament. Press and smooth it out until it is wrinkle free and secure.
- Add a thin layer of glue around the edges of the cookie cutter. Pour some glitter onto a place and press the glue covered edges into the glitter. Shake off any excess.
- Finally, add some ribbon for hanging. You can attach it to the back of the cookie cutter with glue or tie it onto the handle.
Find more ways to save on Holiday Decorating!
Did you enjoy this post? Find more money saving tips here.


